
Welcome To Kings Motor Bikes! The world leader in motorized Bicycles & gas powered bicycle, parts, kits and packages for your motorized bicycle that cant be beat! We beat any competitors price on all motorized bicycle kits & motor kits & have the largest informational guide on motorized bicycle resources. Call our friendly sales team & experts with any questions!
Shop For
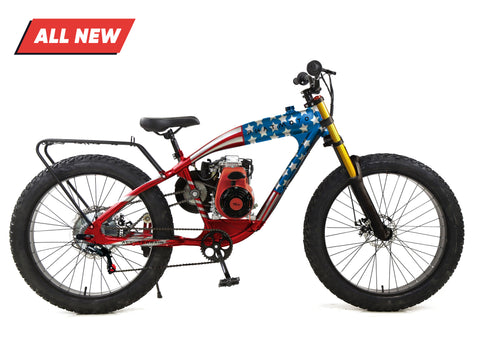
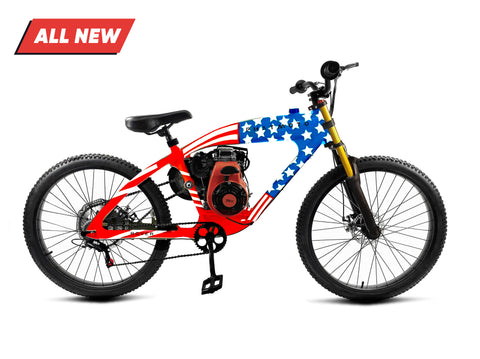
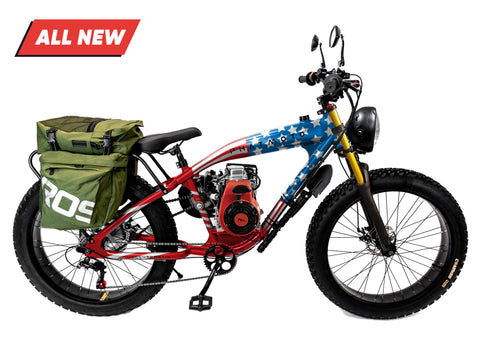
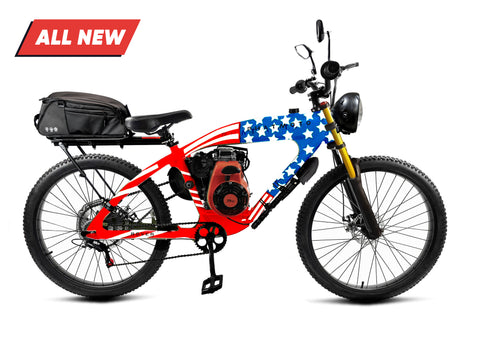
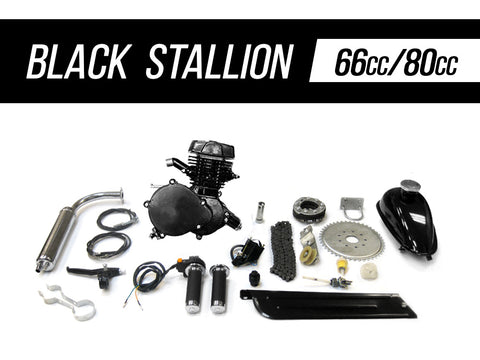
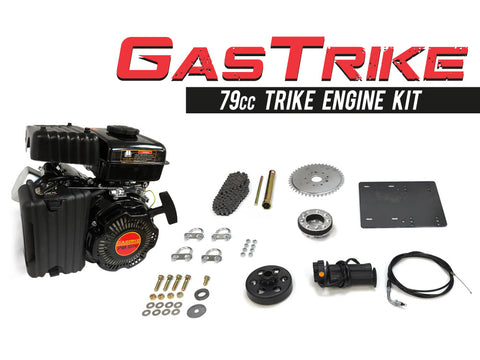
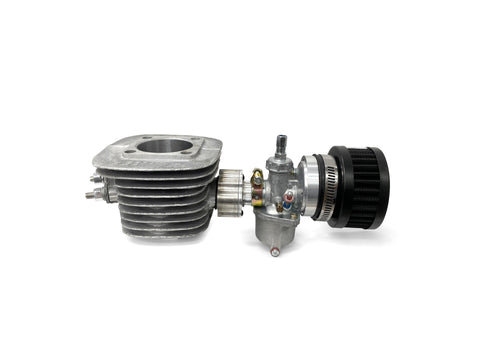
Featured Products